
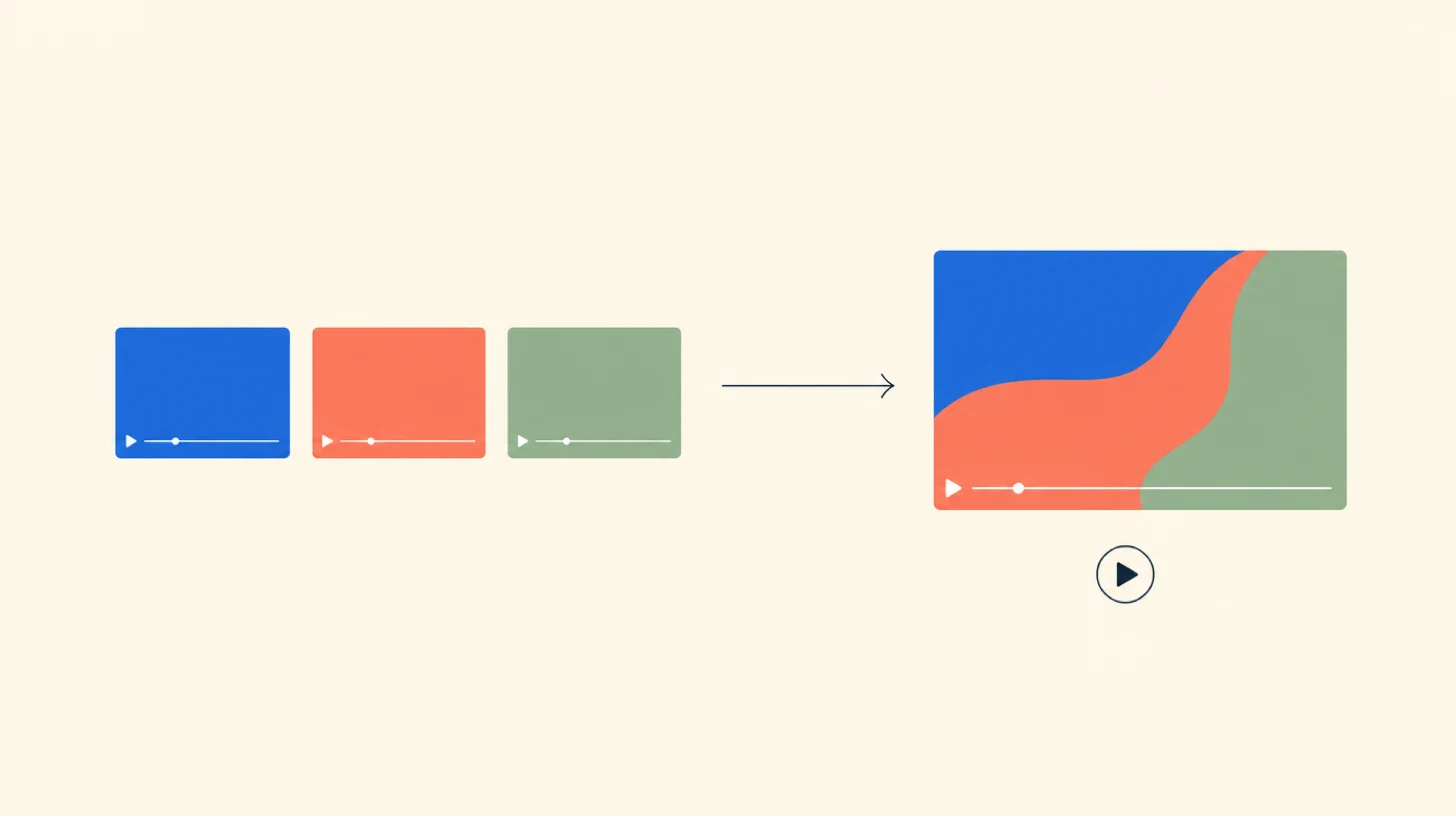
Most “how to merge videos” tutorials answer one question and leave you stuck on three others. Before any drag-and-drop, name what you actually want.
There are four flavors of “make a video from videos,” and the tool that’s perfect for one is wasted effort on the others.
- A. Concatenation. Five GoPro clips, one continuous MP4. Hard cuts, no music, no fuss.
- B. Montage or compilation. Many short clips cut to music, often beat-synced. A best-of, a sizzle reel, a year-end recap.
- C. Business showreel. Branded intro, lower-thirds, music bed, branded outro. The corporate version.
- D. Vertical social post. TikTok or Reel. Multiple clips, one aspect ratio, captions, maybe a reaction or a side-by-side.
The tool choice doesn’t follow “what computer you’re on.” It follows “concatenation versus everything else.” Concatenation is one tool decision. Montage, showreel, and AI-assisted talking-head compilations are a different one. We’ll walk both, then come back to mobile, online mergers, transitions, audio, and a recipe per genre.
What are the four mismatch traps to fix before you merge?
This is the part most “how to merge” articles skip. It decides whether your final export looks like one video or five clips taped together.
Trap 1: aspect-ratio mismatch
Symptom: black bars or stretched faces. Cause: 16:9 horizontal clips mixed with 9:16 vertical or 4:3 phone footage on the same timeline. Fix: pick the project aspect first, then for each off-ratio clip choose between letterbox or pillarbox (preserves framing), scale-to-fill with crop (loses the edges), or a blurred-fill background (the TikTok workaround). Premiere and Resolve both expose “match source” vs “match output” toggles. CapCut’s auto-fit defaults to scale-with-crop.
Trap 2: framerate mismatch
Symptom: judder, dropped frames, audio drift on long timelines. Cause: 24, 30, and 60 fps clips on one project. Fix: set the project framerate to your most common source rate, not the highest. Use optical-flow retiming in Resolve or Premiere for must-keep slow-motion; let frame-blend handle the rest.
Trap 3: resolution mismatch
Editors will conform every clip to the timeline resolution. Downscaling 4K to 1080p averages four pixels into one and looks sharp. Upscaling 1080p to a higher-resolution timeline just stretches and looks soft. Default to a 1080p timeline unless every source is higher.
Trap 4: codec or container mismatch
Symptom: “clip won’t import,” or scrubbing lags. The path of least resistance is MP4 with H.264 video and AAC audio. MOV (the format every iPhone outputs) works in every desktop editor without transcoding; in browser editors, ChatCut handles MOV directly, while some merger sites still ask you to convert first. If a clip refuses, transcode it once with HandBrake (free) or Resolve’s Optimized Media setting and keep working.
Get these four right and the rest is mostly tool choice.
For simple concatenation, pick the browser
If your job is “five GoPro clips, one MP4,” the easiest path in 2026 is browser-based.
ChatCut: concatenation in a Chrome tab, on any machine
ChatCut runs in any Chrome tab on Mac, Windows, Chromebook, or Linux. No install, no per-machine license, no Apple ID. Upload the clips, describe the order (“Put the drone shot first, then the three handheld shots in chronological order, then the closing wide”), export. Hard cuts by default. Handles MOV from iPhone or DJI source directly, no separate transcoding step.
Three reasons the browser path beats the built-in editors for concatenation in 2026:
- No platform lock-in. Open your project on a Mac in the morning, finish on a Windows laptop after lunch. The same Chrome tab works on whatever machine is in front of you.
- No format wrangling. ChatCut accepts MOV, MP4, MKV, WebM directly without forcing you to transcode through HandBrake first.
- No 5 GB OneDrive ceiling, no Apple Photos library import friction. The project lives in the cloud; the raw clips upload directly.
The built-in alternatives, briefly
If you’ve already got the editor open and just want it done, both built-in tools work.
iMovie on macOS. Free, on every recent Mac. Open iMovie, Create Project, Movie. Drop clips on the timeline, drag to reorder, Share → File to export. Turn off automatic cross-dissolves in Settings → Automatic Content if you want hard cuts only. The Join Clips command does not merge separate file imports; just lay the clips next to each other on the timeline.
Clipchamp on Windows 11. Free, built into Windows 11. Drag clips onto the timeline, they snap end-to-end. The catch landed in March 2026: Microsoft now requires Clipchamp project files to be saved to OneDrive. Free OneDrive caps at 5 GB.
For most one-off concatenation jobs, those built-ins are fine. For a recurring need, or anything more than concatenation, the browser-first path scales further.
For everything beyond concatenation, ChatCut handles the AI layer
The interesting “video from videos” jobs aren’t five GoPro clips end-to-end. They’re “stitch the strongest 30 seconds from five long takes, add lower thirds, generate a hook animation.” That’s where the AI layer matters, and where ChatCut covers ground no timeline editor does in a single tool.
Auto-cut by editing the transcript
Upload five 10-minute talking-head takes. ChatCut transcribes everything and lines up the transcripts in one searchable view. Describe the cut you want: “Pull the strongest 30 seconds where I talk about the product launch. Cut all filler words. Add captions in the TikTok preset.” Don’t click through menus. Just tell ChatCut what you want.
To refine: edit the transcript text. Want a different sentence in the middle? Delete it. Want to swap takes on one line? Click the line and pick a different take. The video updates as you edit the text. For long-source-to-short-clip work (interviews, podcasts, multi-take voiceovers) it’s roughly 10x faster than scrubbing in an NLE.
AI motion graphics from a prompt
Want a lower third with the speaker’s name, an animated callout pointing at a detail in the clip, or an on-screen text card that introduces a section? ChatCut adds motion graphics from a natural-language description. Tell it what you want, where it appears, how long it stays. No keyframing in After Effects, no template hunting in CapCut.
For “video from videos” jobs that need a polish layer on top of the cut (lower thirds, callouts, animated text), this collapses the slowest part of the work.
ControlNet + GPT Image 2 for generated visuals
Need a custom visual that isn’t in your source footage? ChatCut wires up to GPT Image 2 for image generation directly inside the editor, with ControlNet pose control for character poses, scene compositions, or stylized hero shots. Generate a reference image, pass it to a video model to get a short animation, drop the result onto the timeline.
For a hook clip, a custom B-roll asset, or a transition graphic that doesn’t exist in any stock pack, this fills the gap. No external generator tab, no manual export-and-reimport.
Where ChatCut fits, plainly
- Yes: concatenation, multi-take talking-head compilation, transcript-driven long → short conversion, lower thirds and animated callouts, custom generated B-roll visuals.
- Maybe: short-form social posts where you want trending CapCut effects layered on top. Do the cut and graphics in ChatCut, then import the export into CapCut for the trending-sound layer.
- No: beat-synced music montages (no beat-detection engine, stay in CapCut or Premiere); branded showreels with bespoke motion-design templates (use Renderforest or commission a freelancer); 4K master deliveries (ChatCut tops out at 1080p; finish in DaVinci or Premiere).
It’s a text-based editing workflow on top of a browser-based AI video editor. No watermark on the Free Plan, which includes 15 one-time credits and 1080p export. Pro starts at $25 a month with a 16% annual discount.
When CapCut still earns its slot
If your job is specifically montage with music beats (whip-pan transitions, hit-marker SFX timed to the kick, the kind of edit that lives on TikTok), CapCut on desktop is still the right tool for that one layer. CapCut Pro is around $7.99 a month on capcut.com (with annual cheaper still), but the iOS App Store can charge as much as $19.99 a month for the same plan because Apple takes a 30 percent commission. Subscribe through the website.
But for the “video from videos” jobs that aren’t beat-driven, the ChatCut workflow above covers more ground in one tool than CapCut + an LLM + After Effects + a stock generator can in five.
Combining videos on your phone
The phone path matters when you’re not at a computer. Three picks cover the field.
CapCut Mobile is dominant for free mobile merging. Gaming and trending-effect templates, 1080p export. Pro-tier templates can watermark even on the free tier, so check before you commit.
iMovie on iOS is fine when you shot the clips on the same iPhone and don’t want to re-encode. Same flow as the Mac version.
The iPhone Photos myth. The Photos app does not merge MP4 files end-to-end. It builds slideshows from photos and Live Photos; for a real multi-clip merge, Apple’s own support article hands you off to iMovie. Skip any tutorial that claims Photos does it natively.
When the project gets long or you want anything beyond concatenation, sync your clips to Drive or iCloud and finish in ChatCut from a desktop browser.
Which online video mergers are actually free in 2026?
If you specifically need a one-off browser merger and ChatCut isn’t an option, here’s the landscape. Every browser merger ships either a watermark, a length cap, or a file-size limit on the free tier.
Clideo merge-video. 500 MB combined upload limit on the free tier, watermark on every export, projects auto-delete after 24 hours. Pro is $9 a month or $72 a year.
Kapwing. Free exports cap at one minute, 720p, with a 250 MB upload ceiling and a watermark. Free projects auto-delete after three days. Subscription is $16 a month annual, or $24 a month month-to-month.
VEED. Free exports cap at roughly 10 minutes with a watermark. Pricing tiers shift quarterly; check before you build a workflow on the free tier.
Adobe Express, Canva, Vimeo merger. All “drag clips, hit export” tools at roughly the same skill ceiling. Differences live in watermark policy and account integration.
The rule: if your video is under a minute and you accept a watermark, an online merger is fine. If it’s longer, or you need a clean export with no watermark, you’re better off in ChatCut for browser-based work or DaVinci Resolve for desktop.
When the project gets bigger: DaVinci Resolve free in three steps
DaVinci Resolve is overkill if you just want five GoPro clips end-to-end, and the right tool the moment you’ll keep editing this kind of project repeatedly. The free version handles 4K, has no watermark, and runs on Mac, Windows, and Linux.
Three ways to merge clips in Resolve:
- Drop clips into an empty timeline, then export the whole timeline as one file. Easiest. Use this when you’re done editing.
- Select clips on the timeline, right-click, then choose New Compound Clip. Collapses them into one clip you can re-use across projects.
- Right-click selected clips in the Media Pool, then choose Create New Timeline Using Selected Clips. Bakes them into one new timeline you can keep editing.
Then Deliver → Render → Single Clip → Render All. If you’ll only merge clips once, stay in the browser. If you’ll do it monthly with color grading and effects, Resolve pays for itself in a weekend.
When should you use a transition instead of a hard cut?
In commercial filmmaking, roughly 99% of every transition is a hard cut. Reach for a cross-dissolve only when you want to indicate a passage of time, a mood shift, or a montage compression. Reserve flashier transitions (the whip pan, the glitch) for music-driven montages where the beat motivates them.
A standard cross-dissolve runs 24 to 48 frames (one to two seconds at 24 fps). Shorter feels like a hard cut anyway; longer feels dreamlike and slows the cut. The real rule from StudioBinder’s transitions guide: if two clips feel awkward together, the fix is almost always to re-cut one of them, not to layer a dissolve on top.
Audio is what makes it feel like one video
This is the single biggest difference between a video that feels stitched together and one that doesn’t. Three moves do most of the work.
Volume normalize before anything else. Most editors offer a normalize-to-peak command. Aim for clip peaks around -6 dB (true peak -1 dBFS for delivery) and conversation around -16 to -20 dB RMS. That’s the streaming-delivery sweet spot. -12 dB RMS is hot and risks clipping. A music bed should sit lower, -20 to -24 dB RMS, so it doesn’t fight dialogue. Premiere has Audio Gain → Normalize Max Peaks. Resolve’s Inspector has a per-clip Normalize Audio Levels button. CapCut auto-normalizes per clip on import in 2026. TechSmith’s primer is the cleanest beginner walkthrough.
Audio crossfade at every clip boundary. Even when the picture is a hard cut, a 4 to 8 frame audio crossfade kills the click or pop you’d otherwise get from cutting on a non-zero waveform. Resolve does this automatically when Smart Insert is on; in CapCut and iMovie, add a tiny audio fade by hand.
Music bed under the whole sequence. Add music last, set its level around -20 dB RMS, and duck it under any spoken word using sidechain compression or manual keyframes.
Six common projects, six different recipes
Once you’ve handled the mismatch traps and the audio basics, the genre dictates the rest.
Recipe 1: clean concatenation (A)
Pick a target spec (1080p, 30 fps, MP4 with H.264). Conform every clip to it before you drop them in. Hard cuts only. Audio crossfades only. In ChatCut: upload, describe the order, export. In iMovie or Clipchamp: drag-drop-export.
Recipe 2: music-driven montage (B)
Drop the music first. Mark the beats. Cut to the markers, not the other way around. CapCut has Beat Detection on PC (right-click the music track → Beat Detection). Premiere uses markers plus the M key during playback. Color-match across clips with a Lumetri or Color Page first pass; mismatched color is what makes a montage feel amateur.
Recipe 3: talking-head compilation (the AI-native job)
Stitch the best 30 seconds out of five 10-minute talking-head clips. Manually, this is the slowest kind of edit on the list. In ChatCut, upload all five clips, ask the Agent to find the strongest 30 seconds, get a draft back, refine by editing the transcript. The same job in Premiere or Resolve is about 2 hours of scrubbing for 50 minutes of source.
Recipe 4: before/after split-screen (D variant)
Stack the two clips on V1 and V2, crop each to half-frame, position them left/right or top/bottom. CapCut has a split-screen overlay setting; in ChatCut, describe the layout in the prompt and the Agent applies it. Match the audio on both sides or kill one side.
Recipe 5: reaction or picture-in-picture (D variant)
Source video full-frame on V1; webcam cropped to a corner with a thin border on V2. Don’t cover faces or captions on V1. CapCut has a reaction-video preset; ChatCut handles it from a description (“put my webcam in the bottom-right corner with a thin white border”).
Recipe 6: business showreel (C)
Use a template. FlexClip, Renderforest, and Animaker all ship the structure (logo intro, hero shots, service callouts, CTA, logo outro) so you don’t have to invent it. For a heavier branded edit with custom motion graphics, ChatCut handles the lower-thirds layer; for full bespoke motion design, commission a freelancer.
Frequently asked questions
Can I merge videos in the iPhone Photos app?
No. The Photos app on iOS can build a slideshow from photos and Live Photos, but it can’t concatenate two MP4 clips end-to-end. Apple’s own support article 102667 sends you from the Photos library into iMovie to merge clips. iMovie is free, lives on every iPhone, and handles the join in about a minute.
Do I lose quality when I merge videos?
Only if you upscale or re-encode unnecessarily. If your timeline matches your source resolution and codec, the export is effectively a copy of the original quality. If you upscale 1080p footage to a higher-resolution timeline, you’re stretching pixels and the output will look soft. If you re-encode H.264 at a lower bitrate, you’ll see compression artifacts on motion. The fix is to set your timeline to the most common source spec and export at the same bitrate or higher.
What format should I export?
MP4 with H.264 video and AAC audio. It plays natively on every modern device, every social platform accepts it, and it’s the smallest file size for the quality. Render at 1080p unless every source clip was shot at higher resolution and you have a delivery reason to keep it. For broadcast or color-graded delivery, ProRes or DNxHR is the answer instead, but that’s outside the scope of “I have five clips, give me one MP4.”
What’s the best free video merger with no watermark?
For heavy desktop work, DaVinci Resolve is the cleanest answer: zero watermark, no length cap, no file-size cap, supports up to Ultra HD (3840×2160) on its own timelines. For browser work, ChatCut is the equivalent: no install, 1080p clean export, no watermark on outputs from the Free Plan. For phone work, CapCut on the free tier exports cleanly on basic edits (avoid Pro-tier templates, which add a visible brand mark). Every other browser-based merger ships either a visible mark, a length cap, or a file-size limit on its free tier.
How do I merge five long talking-head clips into a 2-minute compilation?
Three options, in order of effort. Manual: load all five into Premiere or Resolve, mark the strongest sections in each, copy to a new timeline, audio-normalize, export. About 2 hours for 50 minutes of source. Template-assisted: use a podcast highlight template in Descript or Riverside, which transcribe and let you cut by text but assume a single recording per project. About 30 to 60 minutes. Prompt-based: ChatCut takes all five clips, transcribes them, and stitches the strongest 2 minutes from a single prompt. About 10 minutes for the same source.
Can ChatCut add motion graphics or generated visuals to the merged video?
Yes. ChatCut adds lower thirds, animated callouts, and on-screen text from a natural-language prompt. For custom generated B-roll, it connects to GPT Image 2 for image generation (with ControlNet for pose and composition control), and chains into a video model for short animations that drop onto the timeline. This is what differentiates the browser-AI path from a CapCut + After Effects + stock generator stack.
Try ChatCut on your next multi-clip edit
For concatenation, talking-head compilations, lower thirds, and generated visuals, ChatCut covers most of “make a video from videos” in a single Chrome tab. For beat-synced montages or 4K master delivery, this isn’t the right tool. Match the job to the tool, not the other way around.
Try ChatCut Free on your next multi-clip edit. Free Plan includes 15 one-time credits, no credit card required.
Bottom line. “Make a video from videos” hides four jobs. Concatenation belongs in a browser tab. Talking-head compilation, lower thirds, and AI-generated visuals belong in a prompt-driven editor. Beat-synced montages still belong in CapCut or Premiere. Pick the tool by genre, not by what’s installed on your machine.